01
Before you start
Attach the PoleMaster rigidly to the right ascension axis, aim the mount near the selected celestial pole and connect the camera directly to an Apple silicon Mac.
- Choose your celestial hemisphere before capture.
- Capture each pose manually with the button. Use the countdown to move away from the mount before the exposure.
- Close every other application that may open the PoleMaster.
02
Connect the PoleMaster
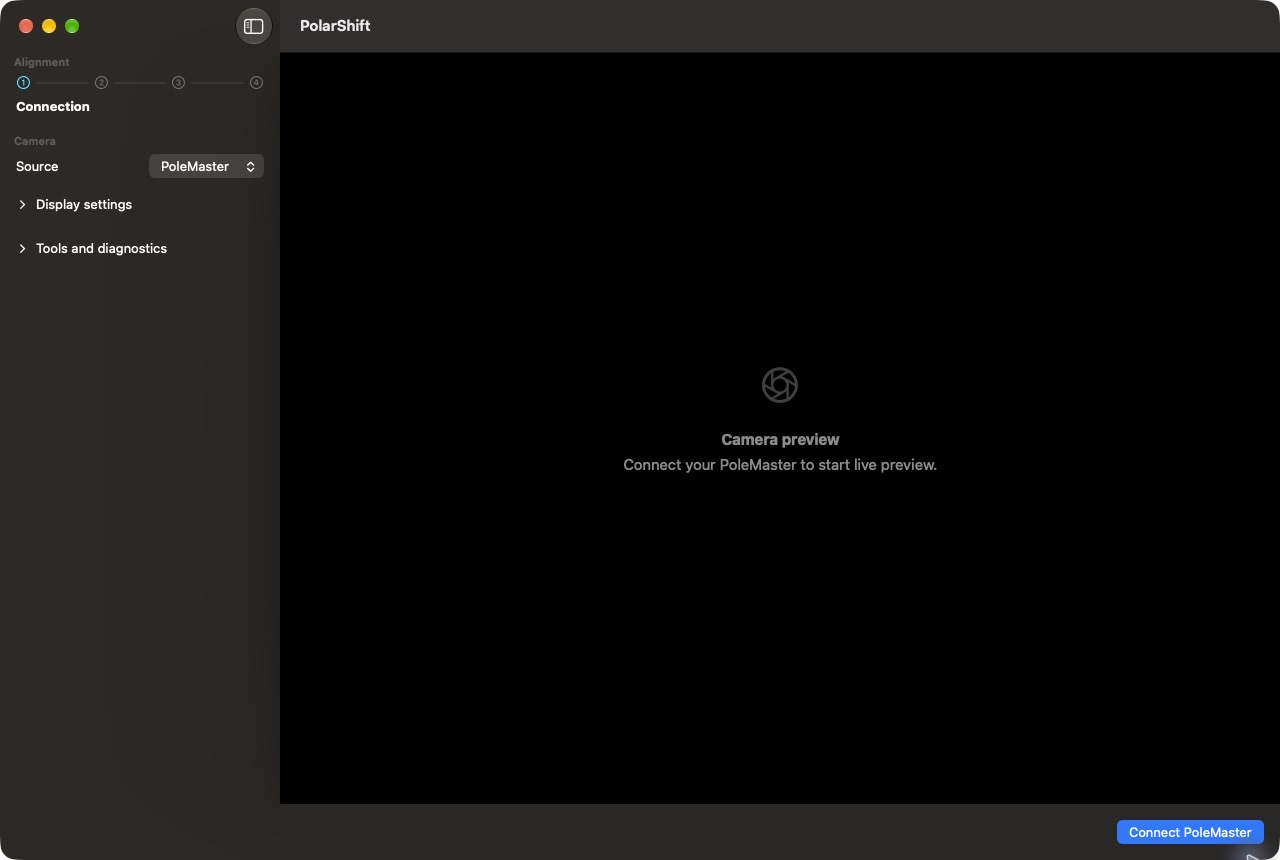
Select PoleMaster as the source and choose Connect. The preview appears after the camera firmware and sensor have started. A reconnection restores the last confirmed camera settings.
03
Automatic exposure and manual settings
Exposure and gain adjust automatically by default. You can choose manual settings when needed. Exposure and gain adjustment pauses during calibration. Contrast, shadows, zoom and night vision change only the preview.
04
Capture distinct RA positions
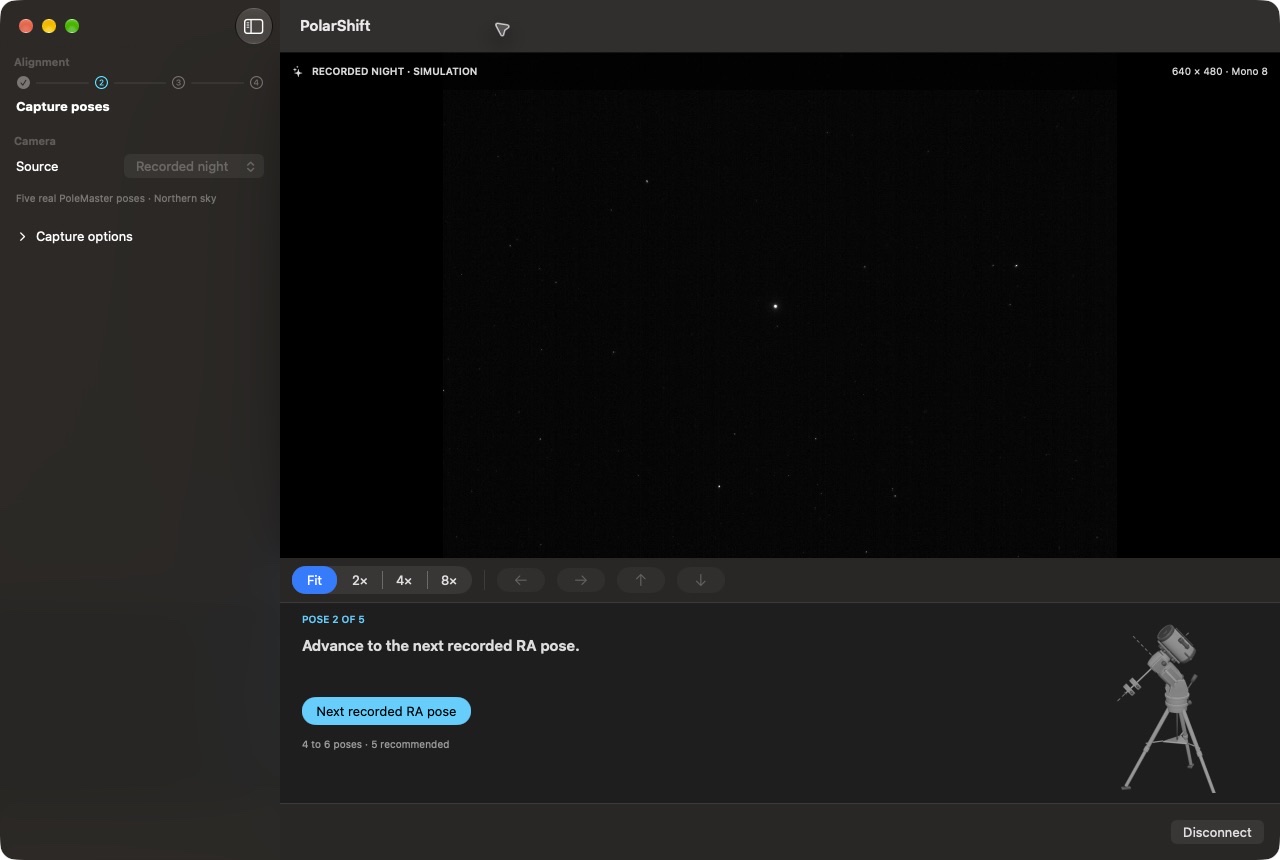
Capture 4 to 6 stable orientations manually; 5 are recommended. Rotate only the RA axis between poses. Keep the camera fixed to the RA housing and do not move the tripod or altitude and azimuth controls during capture.
- Choose Start calibration below the image.
- Keep the mount still, then use the capture button and optional countdown for the first pose.
- Rotate the RA axis about 20°, let the mount settle, then use the capture button for the next pose.
- Continue to 5 recommended poses. Calculation starts automatically after the fifth; you can add a sixth pose if needed.
05
Calculate the RA axis
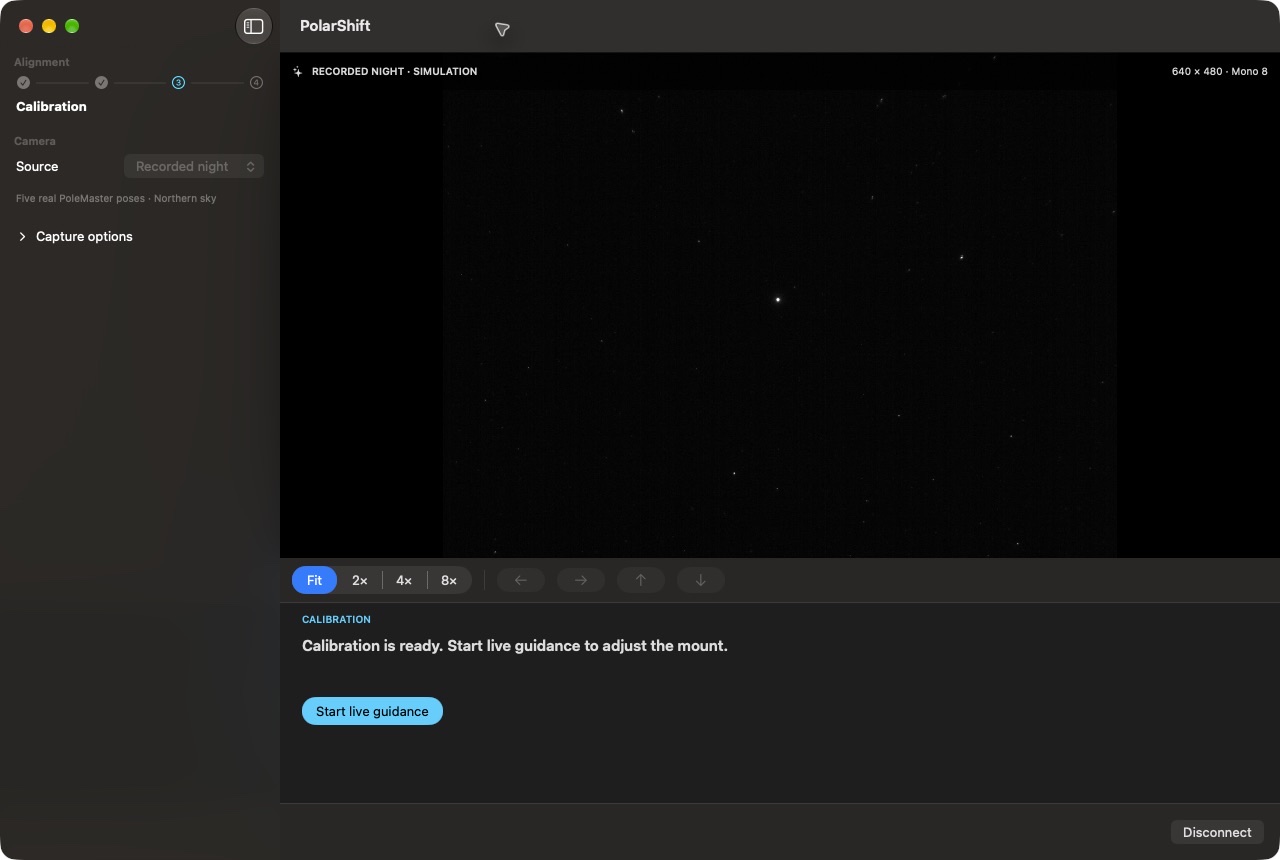
After the fifth pose, PolarShift automatically calculates the RA axis and celestial pole. You may add a sixth pose. When the calculation is ready, return the RA axis to its starting position, then explicitly start live guidance.
06
Adjust altitude and azimuth
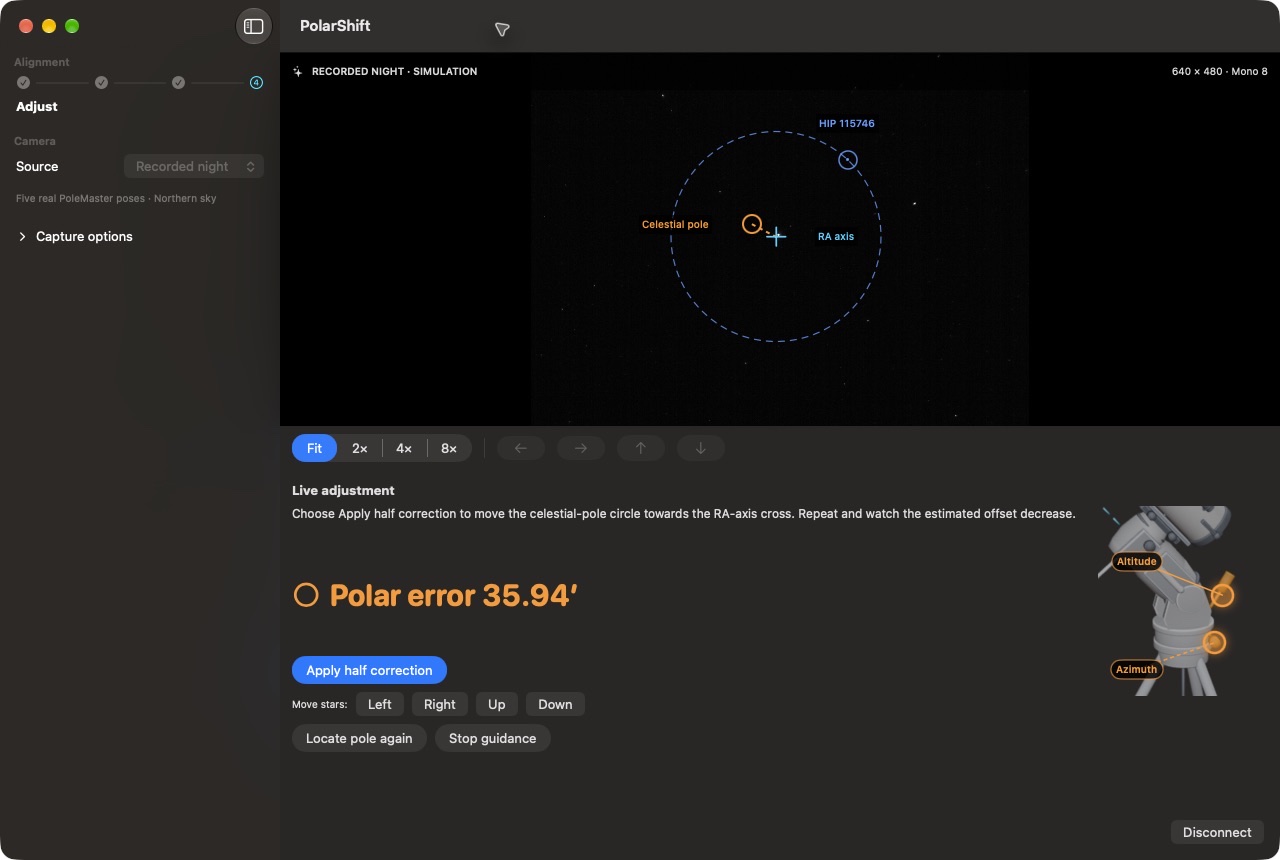
After returning the RA axis to its starting position, start live guidance. Keep the RA axis fixed and use only the mount’s altitude and azimuth controls. Bring the pole marker toward the measured RA axis marker.
07
Troubleshooting
- Too few stars
- Remove the lens cap, check focus and increase exposure before gain. Avoid clipping the brightest stars.
- A position is rejected
- Wait for vibrations to settle, then rotate the RA axis further before recording another position.
- Guidance is lost
- Check that the camera has a clear view of the sky and wait until stars are detected again. Locate the pole again if the field has changed substantially.
08
Purchases and reinstalling
Buy, reinstall and update the app through the Mac App Store. No PolarShift account, licence key or activation is required.
- Open your Mac App Store purchases to reinstall PolarShift on a Mac using your Apple Account.
- If an App Store purchase or reinstall fails, check your Apple Account and contact Apple purchase support as needed.